
happy campers
My daughter requested a bag to carry her bible to church in. My son said he would like one too. It was a request I could not deny and have joyfully worked on since the middle of summer. The first thing my daughter and I wanted to do was to go shopping for fabric. After getting the look from my husband we started at home. We found lots of super fun fabric in my stash! I piled all the fabric on the back of my computer chair where it sat for the rest of the summer while I tried to find a pattern I wanted to use. I found all sorts of patterns for bags online that I pinned for reference. None were exactly what I was looking for; this satchel tutorial came really close. I wanted to make a bag with a gusset. I wanted the back and top flap of the bag to be all one piece. I wanted to create a lined bag with places for pens and scissors. I didn’t want to use hardware for the strap. I feel like that makes straps too fussy for a kid’s bag. I didn’t find one fit all pattern, so I dreamed one up. I spent the better part of a month ruminating on the project to work out what I would do. Once school started I had time to make some progress.
Most bags benefit from some sort of lining to help give the bag structure. I chose not to use any. I used bottom weight cotton. I figured since I included exterior pockets, that would give the bag extra stability. As I made them, the satchels are pretty floppy but it suits them. The lining fabric was lightweight cotton. Everything was washed before I started. For the strap padding I used some felt by the yard that I had on hand. I used a 0.5″ seam allowance.
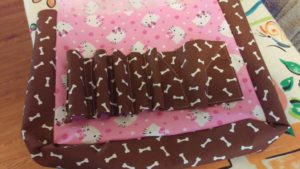
- Cut out these pieces of fabric

All the pieces laid out around my original pattern.
4×26″ – outer bottom gusset
10×17″ – outer back & flap
10×8″ – outer front
10×7″ – outer front pocket
10×8″ – outer back pocket
4×26″ – inner gusset
10×8″ – inner front
10×17″ – inner back & flap
? – inner pen pocket
6×38″ – strap
2.5×38″ – strap padding
or
5.25×35″ – strap
2.125×35″ – strap padding
The strap size will depend on where you want the bag to hang on your kiddo. For reference, I listed a longer & smaller shorter option. - Sew the inner pocket to the inner front.
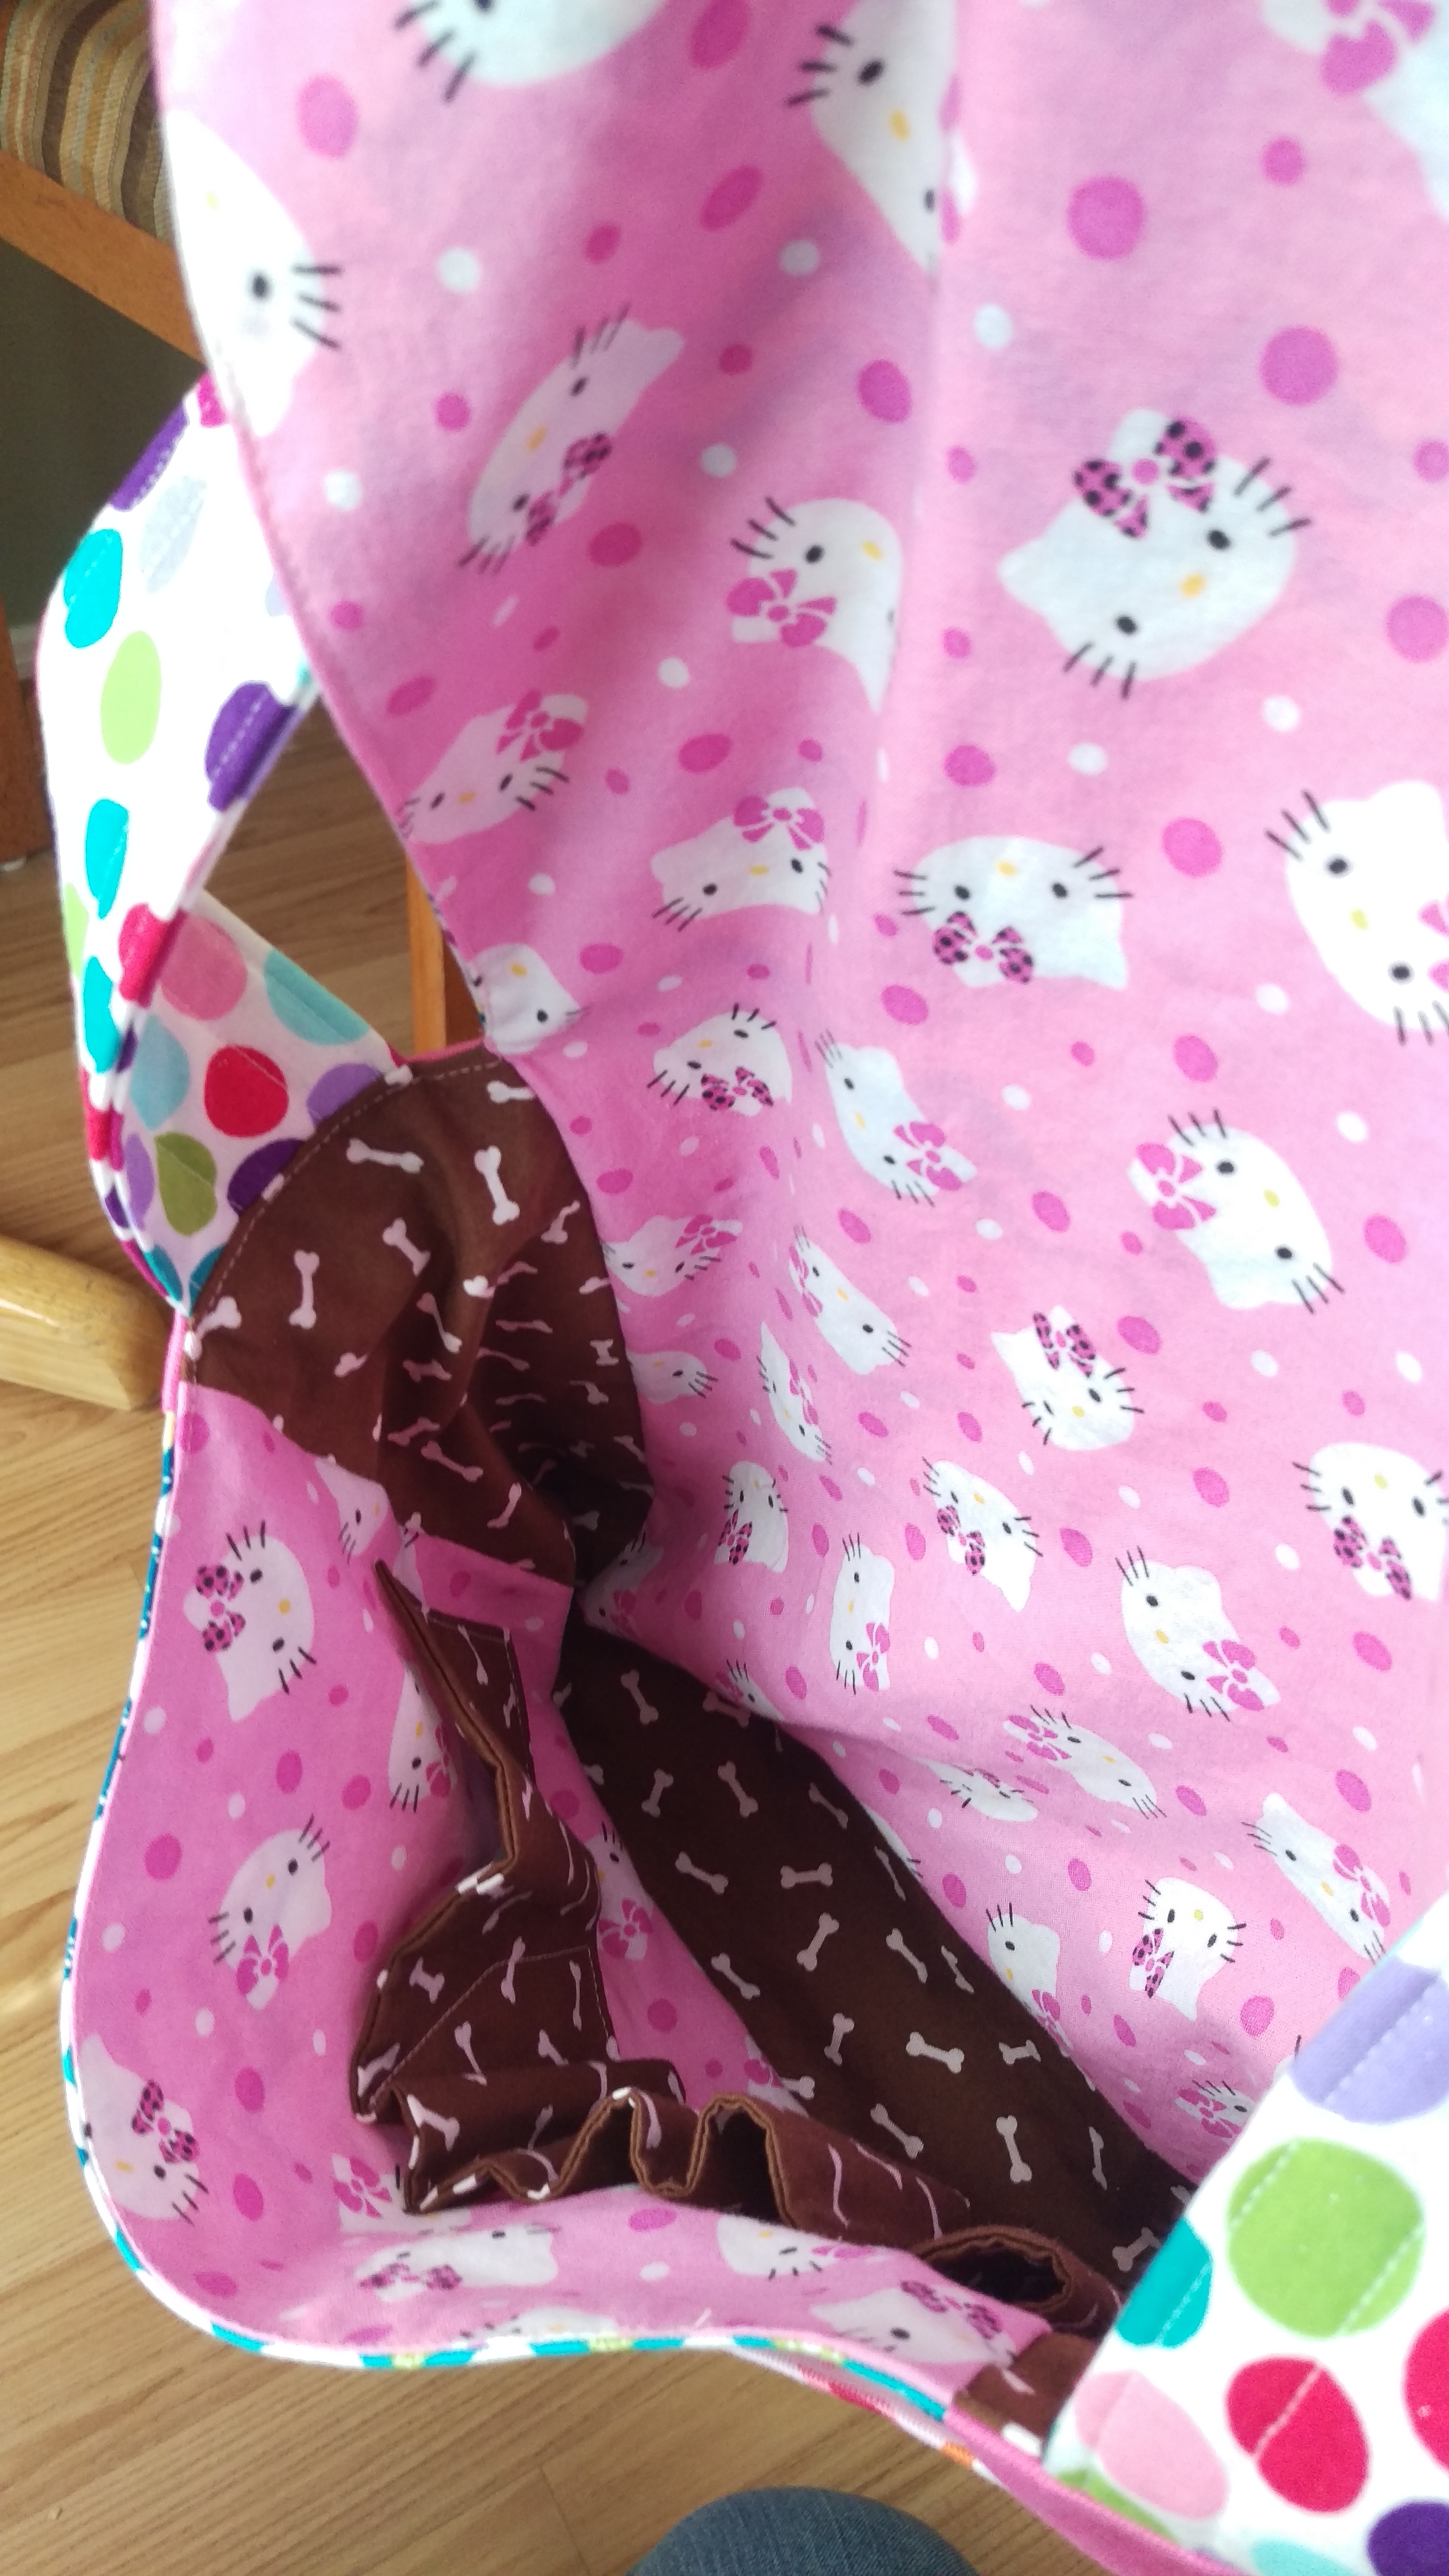
Inside out view of the bag lining and pen pockets.
I picked a random scrap of fabric for the pocket. I put the right sides together and stitched around, leaving a spot to turn it right side out. After pressing the piece to lay flat, I used a pen, pencil, and other items to help determine where I wanted to stitch. This part was really random. I didn’t take measurements. I used fun scraps that the kids liked which were too small to use anywhere else on the bag. I recommend testing the pens & pencils you’re likely to use with the bag. The inner pockets on my second bag were placed a little too high.
- Put the strap together
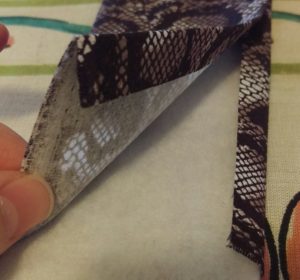
Pressing the strap fabric around the strap padding.
Press the strap in half lengthwise with the wrong sides together. Lay the strap padding against the crease. Fold one side snugly over the padding about 0.5″ and press. Fold the other side under and press about 0.5 under. The two folded edges should line up. Stitch along the edge. Then add and extra 3 lengths of stitching for support.
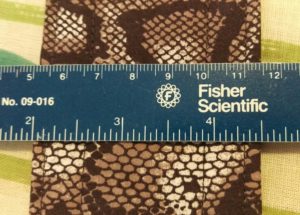
Showing the stitching down the length of the strap.
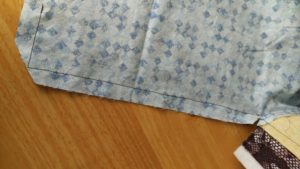
- Hem the tops side of the outer pockets.
turn under, turn again, press, and then stitch
Outer pocket turned and stitched & basted to outer front.
- Baste (long running stitch) the bottom of the outer side pockets to their respective sides. These pieces will be right to wrong sides together, so both right sides end up facing you.
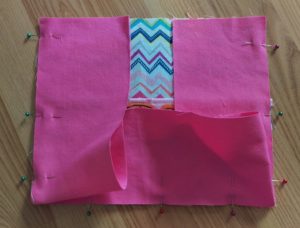
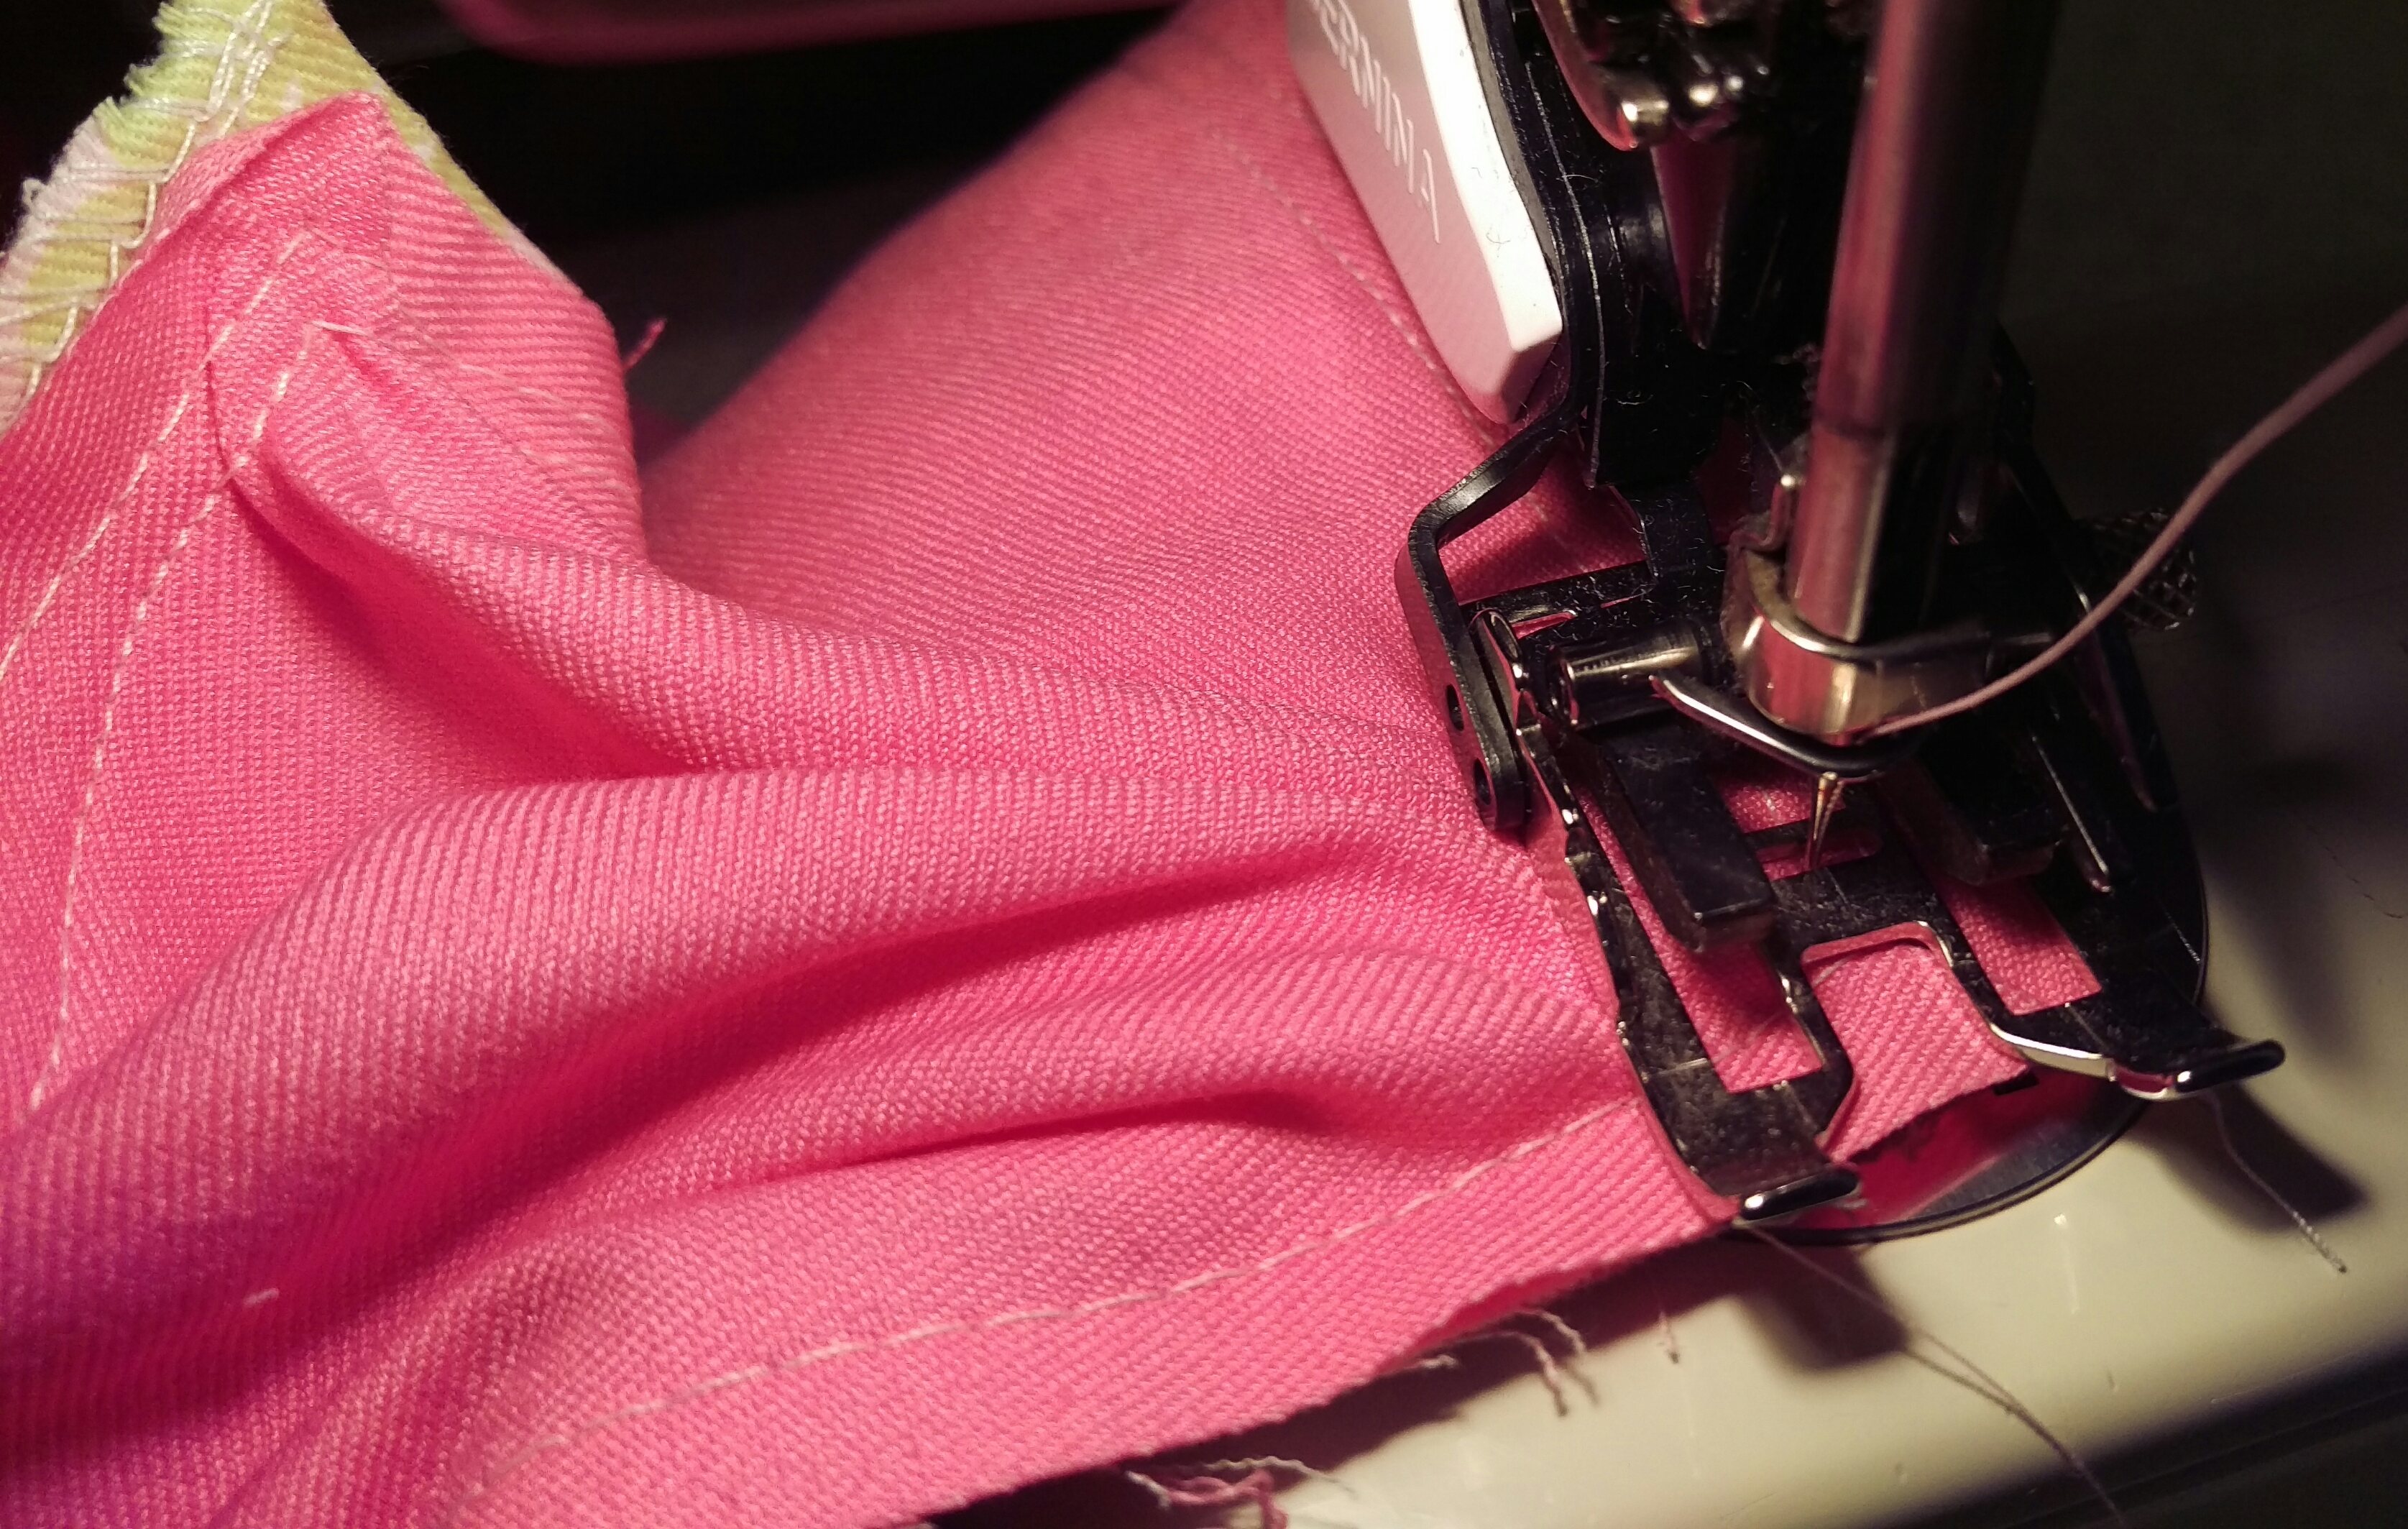
- Put right sides together for the inner bag
Pin in place (see picture in step 7 for reference) and stitch 0.5″ from the edge. I started by basting everything in place with a long stitch at about a 1/4″ seam allowance. Stitching the corners can be frustrating. The picture shows what mine looked like as I was working. They don’t end up square, but have a rather fun rouche to them.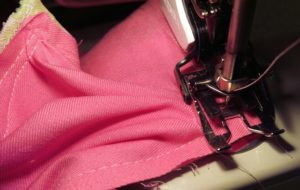
Sewing the corners. You can also see the line of basting stitches on the left.
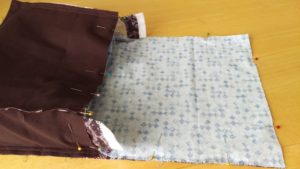
- Put right sides together for the outer bag
Pinning the gusset to the side.
Same steps as above, but with the outer pieces.
- Put it all together
Putting the right sides of the bags together.
With the outer bag inside out, lay the strap in the bottom making sure it’s laying flat and not twisted. Turn the inner bag inside out and slide it inside the outer bag.
stitch from one red pin on the flap all the way around to the other red pin.
Pin around the pieces taking care to match up the corners. Stitch 0.5″ from the edge leaving the end of the flap mostly open so you can turn the bag right side out.
- Clip corners
corners that need to be clipped, clip both sides.
I didn’t think of this at first and almost cried when I turned the bag right side out and it was wonky between the bag and the flap. You also need to clip the corners on the end of the flap so it lays flat.
- Turn & Top-stitch
Turn the bag right side out. Stuff the lining where it should be. Press along the seam you made in step 8 so it lays flat. Take care on the end of the flap to turn under your raw edges and press. Top-stitch as close to the edge as possible.
Inside view of finished bag
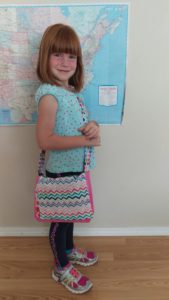
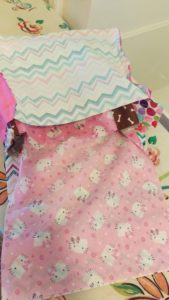
Finished bag and proud new owner.


I’m still thinking about adding extra stitches where the strap goes into the bag. At this point though, the girl has run off with hers. I may never get to touch it again!