Sugar

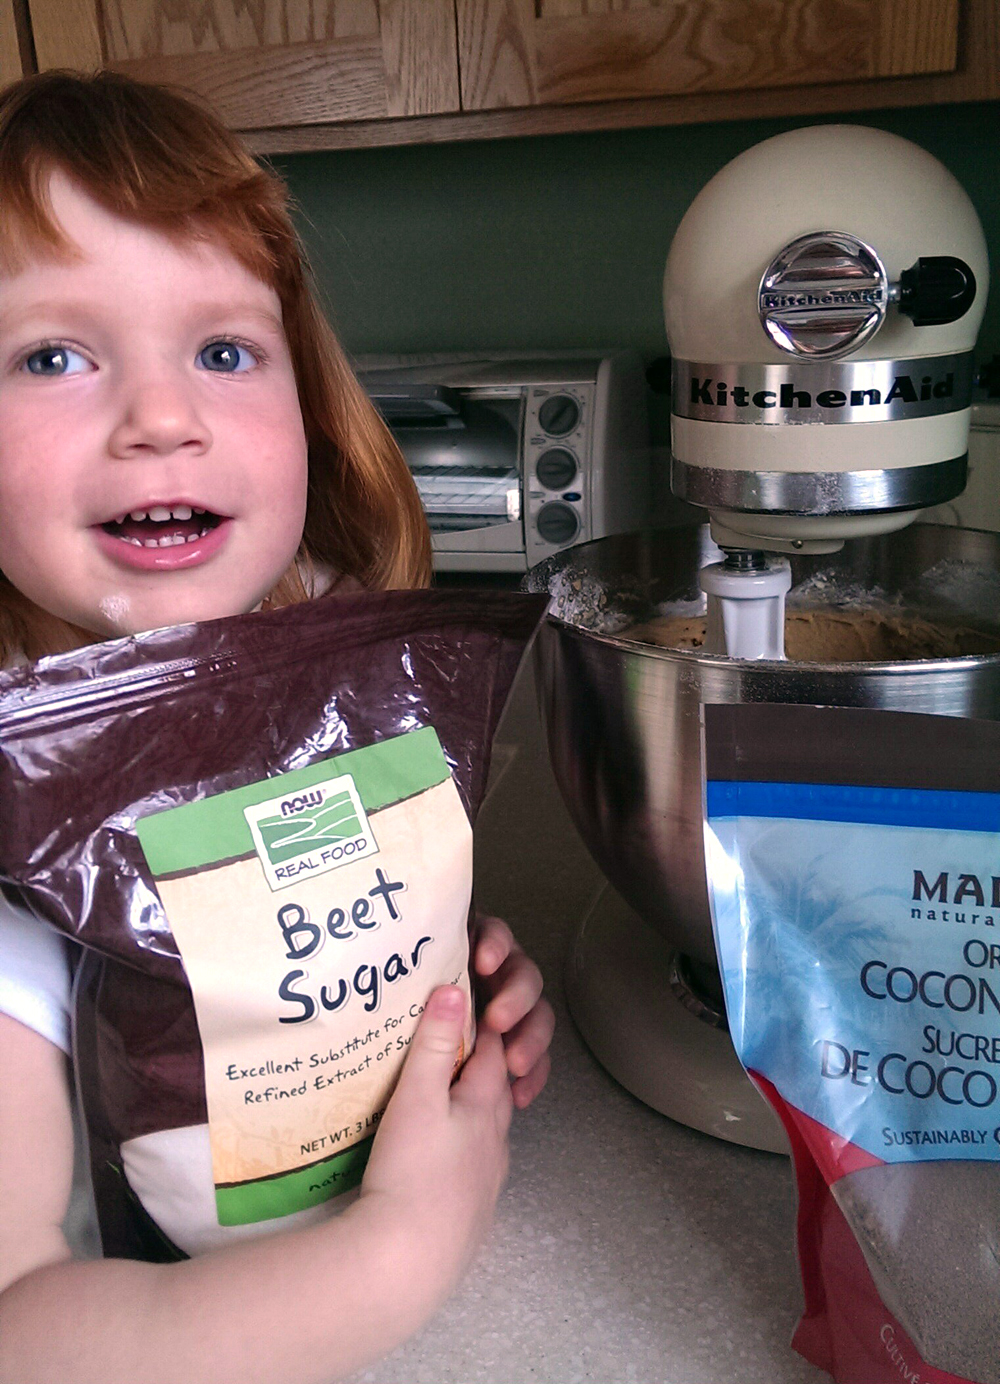
Have you ever noticed that disclaimer on your bag of sugar, the one that says “100% pure cane — contains No Beet.”  I never really thought about it until the beginning of this year.   We had my son tested for food allergies in December.  His results came back in January with IgE reactions for Milk & Beef, and IgG reactions for all dairy and sugar cane.

The beginning of this year marked a change in our diets.  We stopped eating out and started reading food labels.  I studied the FARE website on Milk Allergies.  I still review it.  I went through our cupboards and read all the labels on the food we had.  I found a new bullion to use that didn’t have whey in it.  I stopped using our taco seasoning which had milk in it and made my own.  I was surprised by the many places I found Milk.  I read blogs about others who had milk allergies.  I talked with a local mom who has an amazing allergy story for her children.  I learned about Nucoa buttery sticks and that most margarine products have a form of milk in them.

At first I was overwhelmed by all the changes but now we are settling in to a new food routine.  I’m lucky that my son is old enough to understand that the food he’s allergic to make his body sick and he plays an active roll in asking people if there is milk in the food they offer him.  He’s also a reader, so when he asks for a type of food at the store I ask him to read the label.  Often milk products are highlighted, so he knows right away if it’s a food he can eat or not.

Cutting out beef was not as hard as milk.  It has been easy to substitute pork, chicken, or turkey for beef.  My son loves fish sticks and he learned he loves pork chops too!

After we had a handle on eliminating milk and pork from his diet, I started trying to figure out what I could use as a sugar substitute.  I like baking him cookies and I’ve always used regular sugar that boasts “100% cane.”  After searching locally I came across beet sugar on Amazon.  I was going to make my own brown sugar with molasses, but it turns out that molasses is made from cane sugar too.  One of the things I read online was that coconut sugar has a brown sugar like taste.  I could find coconut sugar in my local grocery stores, but it was $6-7 a pound.  I found a 3 pack of coconut sugar on Amazon for just over $4 a pound.  Yay!  Now I bake cookies with Nucoa, beet, and coconut sugars.  They don’t taste the same, but they are still yummy.

Hello Kitty Birthday

For Little’s second birthday I put together a Hello Kitty birthday party for her at the park.  She called her Hello Meow Meow then.  What is it that draws a kiddo’s attention to what they love?  From the first moment she caught a glimpse at the store, she was in love with Hello Kitty.

Hello Kitty Gift Bags
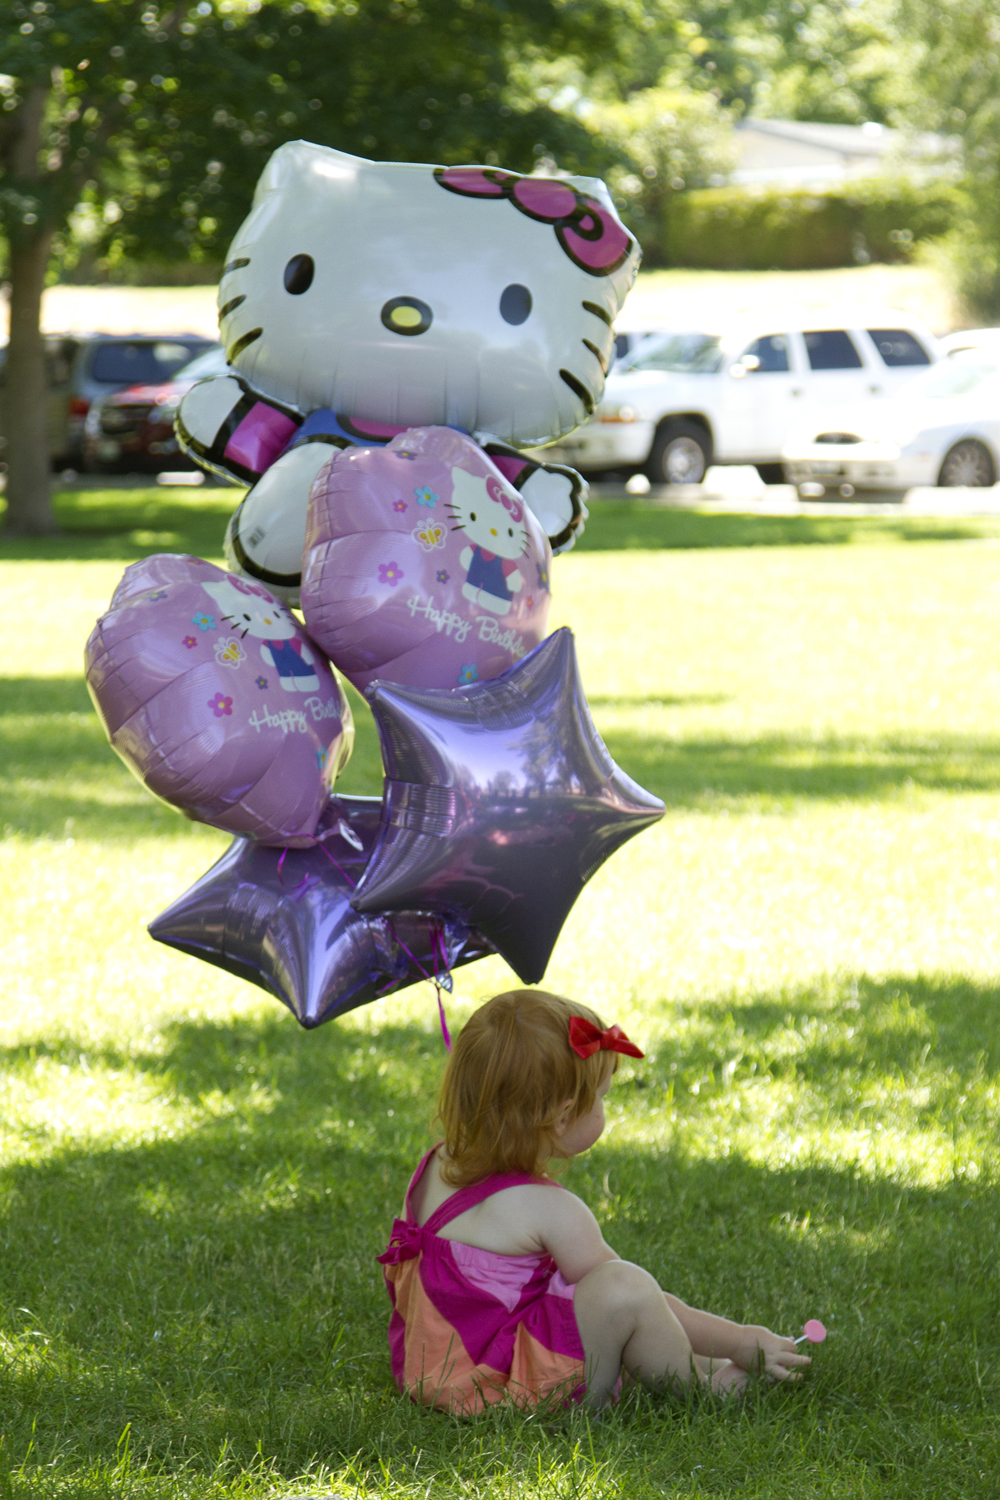
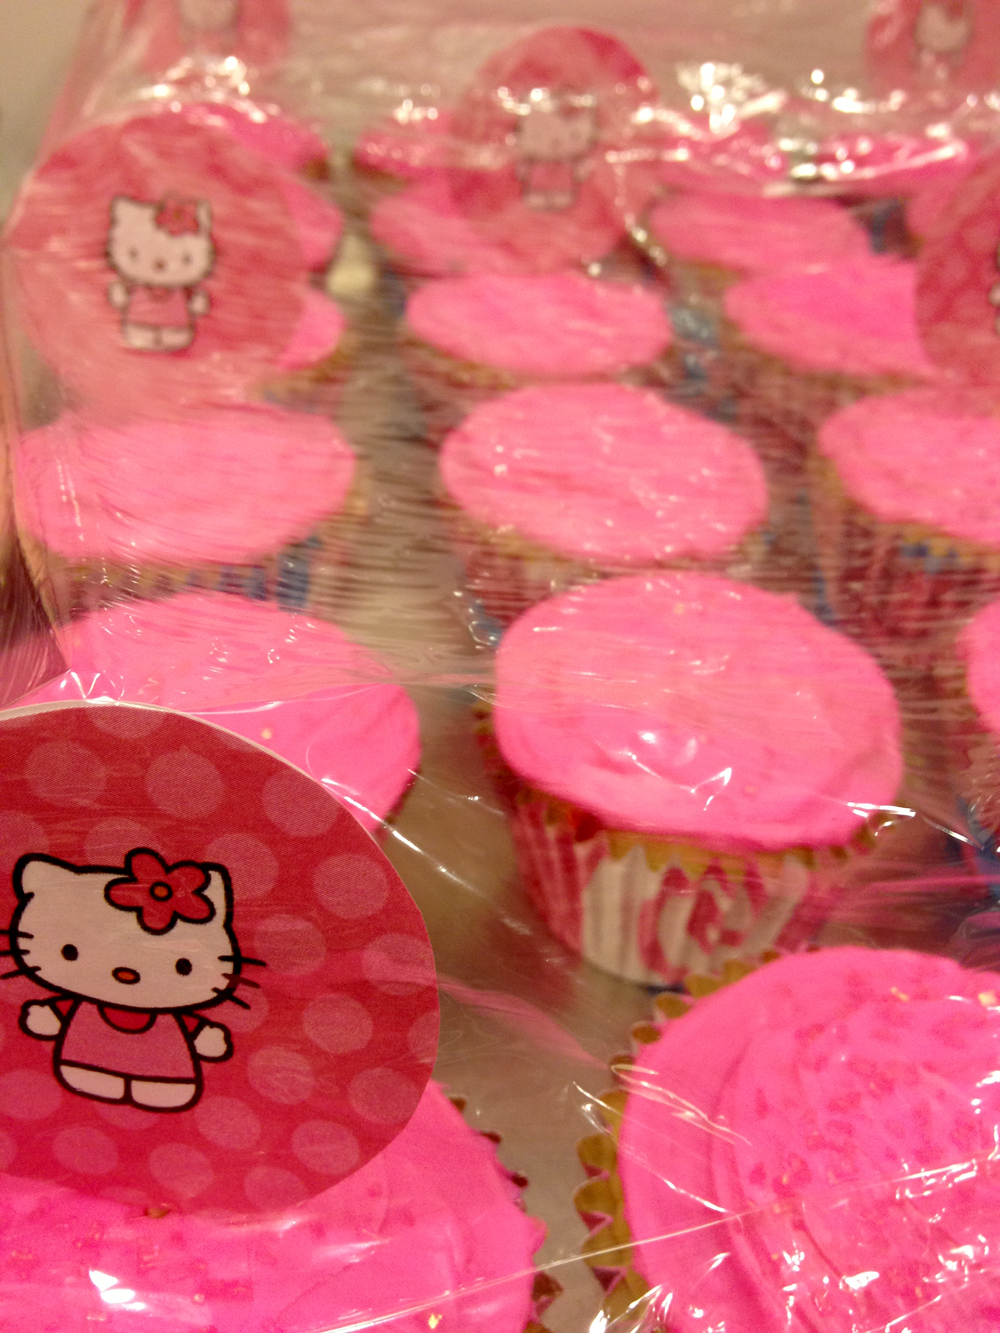
I wanted to make her birthday full of Hello Kitty fun.  I also wanted to make treat bags that were going to be fun for more than a day. I used the small white bags at Hobby Lobby and bought enough with coupons for our attendees.  My plan was to freezer paper stencil Hello Kitty onto the bags.  I put stacks of freezer paper under an image that I had printed from online to help me cut out her features.  I hadn’t finished cutting out one eye before I was dreaming of having my own Silhouette.  Maybe someday I’ll own one.  By the time I finished cutting out all the stencils I’d given myself a pretty good blister, but it was worth it.  The cardboard inside the bags keeps them stiff so the stencil sticks well.  It also helps for better paint application.  After the painted bags were dry, I removed the stencil and gave them a quick iron to set the paint and started stuffing them with goodies.

Hello Kitty bow making stepsThe bags were filled with Hello Kitty goodness; stickers, temporary tattoos, cake topper rings, special candy, and bows just like Hello Kitty wears.  I made the bows with the 2 1/4″ red ribbon I used on my Rainbow Brite dress.  Before I started sewing, I sealed all the ends with a lighter so they wouldn’t unravel.  The best part about making Hello Kitty bows is they are lopsided, so you don’t have to worry about getting them perfect!  I hand stitched them onto the barrettes so they wouldn’t always be sliding off.  They were so cute!

Little with her Hello Kitty Balloon Boquet.For an extra special treat I ordered a Hello Kitty Mylar balloon bouquet for Little.  It was crazy big and took a ton of helium to fill.  I didn’t realize how much it would cost to inflate the balloons, but it was worth it.  Little loved the balloons and was so excited to carry them around the park.  The large Hello Kitty balloon was nearly as tall as her.  I used a stainless steel straw to flatten the balloons when we were done enjoying them.  Maybe one day we’ll use them again.

We had a lot of little boys we invited to the party.  I didn’t want them to feel left out so I made them Green Lantern treat bags.  I freezer paper stenciled the Green Lantern logo onto black bags from Hobby Lobby.  I put super hero stickers inside as well as candy and some squinkies.  They thought the Green Lantern rings were especially cool.  If you’re ordering rings for boys, they are the way to go.  I can’t believe they are currently out of stock.

Hello Kitty cupcakesI made Funfetti cupcakes and used Reynolds staybrite wrappers.  They are great to use for parties and special occasions and a fun break from the plain white ones I normally use.  Pillsbury Funfetti Hot Pink Vanilla Icing was the perfect topping.  I’m so glad they started making bright colored icing.  I’m not sure I could enjoy cupcakes if I knew how much food coloring it took to make the icing vibrant!  The pink sprinkles that come with the hot pink icing were a perfect sparkly addition.  They have a slightly iridescent sheen to them.  I printed out a few Hello Kitty cupcake toppers I found on pinterest.  I made enough to add randomly so the saran wrap wouldn’t stick to the cupcakes and mess up the icing.

I over planned for attendees.  There were so many left over treat bags!  I handed them out to friends when I remembered, but by the time November rolled around I still had a bag of bags on my desk.  I grabbed them on my way to pack shoe boxes for Operation Christmas Child.  I hope they brought smiles to all the kids who received them.


A year in cloth diapers!

We’ve passed several amazing milestones this year, a dozen years of marriage, a decade in our house, and a year in cloth diapers!

A year after tentatively buying 2 JSB pocket diapers from, Buckwheat Bottoms, we’re still doing it!  I don’t have cold hard numbers for you on money we have saved.  I do know I’ve tried to stick to spending less than what we would have been spending on paper diapers each month as I update and expand my diaper library.

Little in a Rainbow Brite fitted diaperAlong the way I’ve made some discoveries.  My daughter is what’s known as a ‘heavy wetter’ in the cloth diaper world.  I love the simplicity of using a trifolded prefold in a cover.  I don’t love pockets as much as I thought I would.  I do love natural fibers, cotton and bamboo are my friends.  I put off trying wool, but wool is cool!  It’s so amazing, and washing it every 1-2 weeks or when it gets dirty is NBD.  Fitted diapers with a wool cover are awesome for night time.

Around December my big baby decided to grow.  When she was 1 she weighed 27 pounds and was 31.5″ tall.  At her 18 month check up in December she clocked in at 33 pounds and 34″ tall.  Many of our pocket diapers started to fit poorly, or were too small.  The snaps on my favorite Rumparooz covers sprang open.  I found myself floundering, searching for styles that fit my daughters body and her active nature.  Cotton Babies had large FuzziBunz Perfect Size Diapers and Bummis Super Snap covers on clearance so I ordered some to try.  Large FuzziBunz diapers are large.  They sort of fit, but not well, they were a little too big.  They came with 1 microfiber insert and they don’t absorb fast enough for my ‘heavy wetter’ daughter.  When I added an extra insert, it helped with the absorption, but then they became bulky.

Little in her Rainbow Brite dress and fitted diaperI broke down and tried some BumGenius 4.0 diapers.  For some reason I was trying to ‘buck the trend’ of the popular BG diapers.  Susan at Buckwheat Bottoms had some pre-owned options in her store so I bought a few to try out.  Where the JSB pocket diapers were too small, the BG gave her nice room above her thighs so she could still move freely.  The BG 4.0 diapers still fit my Little.

Around February I came to the realization that I needed more absorbent material than the average cloth diaper uses.  When I realized that I needed to ad an extra insert to everything that works for the average child I felt like I wasn’t floundering quite as much.  The covers stopped leaking and I didn’t have to change the bedding as much!    The type of absorption mattered too.  Microfiber didn’t absorb fast enough for us.  I started using cotton inserts and put my stack of flour sacks to use.  I could fold the flour sacks to fit into many different covers/pockets/styles.  I’m not sure why it took me so long to make the realization that we needed natural absorbent fibers and more of them, but there it is.

Little taking a nap in our loaner wool longiesOur diaper stash started shifting.  I acquired more GroVia shells.  We use their organic cotton snap in soaker pads inserts with their organic cotton boosters.  The boosters don’t seem like much but they make all the difference in the world for us!  I fold down the top a little and stick them inside the soaker pads.  They stay put and make diaper changes faster.  These trim diapers fit my daughter well.  They don’t get in the way of her active nature.  We are still using our GroVia diapers.  I also picked up 2 more Flip trainers.  They work for us if I have two inserts in them.

Little showing off her big jumps in her BottomBumperI bought my first ‘fancy’ fitted.  I had a few plain ones.  A couple workhorse terry Popolini ones I’d bought preowned, and some Bumboos I bought on the baby steals site.  I was ready to try what everyone in the cloth diaper group was talking about; Wool and Fitted diapers!  I had some wool.  A friend is lending us her awesome longies but I was chicken to use them over night.  I bought a wool wrap, but it was too small to use over our night time configuration.  It wasn’t until I found the XL Loveybums at Buckwheat bottoms that I had some big enough for our night time solution.  When I started using wool covers at night it was amazing.  My girl’s night time diapers are something else.  I often sing that Sir Mix-a-Lot song when I see her in her night time diaper.  A prefold wrapped around a cotton insert laid in a popolini fitted wrapped in wool.  That lasts about 4 hours or so.  Neither one of my kiddos likes being wet at night.  Doesn’t matter if it is a paper diaper or cloth.  They get angry and start kicking, and nobody sleeps once they start kicking!   I put her in one night time configuration when she goes to sleep, change her when I get in bed around 10/11 and that lasts through the night, most of the time.  In the last month she’s started holding her pee better at night.

I bought a large RagaBabe All in One from a local woman in April.  Not counting wool, it’s the most expensive diaper I own and I love it.  It has hook and loop closure which sometimes irritates me, but I’m glad I bought the diaper.  It still fits my girl, and I know it will hold and not leak.  If we weren’t so close to potty learning, I’d buy more.

Little taking a break at the park in her Bottom BumperI also bought two Large snap Bottom Bumpers from Buckwheat Bottoms in April; they rock!  When I added the extra insert, they were perfect for us.  They have an amazingly narrow crotch area.  Their design is trim and they fit my big girl awesomely.  I thought I was a snap only girl but I bought some Large Aplix (hook and loop) diapers on clearance and they are awesome too.  I love the easy of putting on an Aplix diaper instead of fiddling with snaps.

In May I purchased a custom Rainbow Brite diaper from Happy Little Llama.  Such a sweet side snapping fitted that my little loves wearing with the Rainbow Brite dress we happily stumbled upon.  Another mama had bought the dress for her daughter, but it was too big.  It fits Little perfectly!  Paired with a Loveybum pull on cover it is a winning combination.

In June I snagged some XL side snapping Clover fitted diapers that someone had traded in at Buckwheat Bottoms.  Paired with a tri-folded prefold, they are our new go to night time solution.  Their design is unique, they have what looks like a pocket with snaps inside, but it’s not a pocket.  It’s a way to adjust the button hole elastic on the inside; sweet!  I was waffling about buying both of them.  So glad I was able to decide quickly to buy both of them.  Sadly, you can no longer buy them new.

My current quest is to find cute pull on wool for my girl.  If it’s not soft and brightly colored she has no interest in wearing it.  My Little is currently 34 pounds and nearly 37″ tall.  She has a 20″ waist and 12″ thighs.  It is a challenge to find trim fitted diapers to go with the cute wool.  I’m trying my hand at sewing some that will hopefully fit her perfectly under her new to us size 3 Sustainablebabyish underwoolies!

3 30 foot clothes lines!It’s been an adventure trying cloth diapers.  My husband was not on board when I started.  He used to frequently make negative comments about cloth and search for a paper diaper if he needed to change a diaper.  He hasn’t said anything, but little things tell me he’s coming around.  He no longer tells me how much the diapers stink when I put them in the washer to wash them.  One time we were traveling I only packed paper diapers and our daughter’s diaper leaked after her first pee that evening, thankfully I had put down one of those pads anticipating that.  He said “There’s a cloth diaper in the car, should I go get it?”  It was so sweet.  He even installed an amazing clothes line for me between our porch and garage.

Cloth isn’t for everyone, but I’m really glad I tried it out.  Sometimes it seems overwhelming with all the different options, but options are good.  No two babies are the same.  As my baby grew and changed different diapers fit her better.  It’s been a fun adventure figuring out what works best for us.  I’ve met a ton of amazing local mommas who cloth diaper.  I’ll bet there’s a local Facebook group for cloth diapering mommas in your neck of the woods too!  You should check it out.

A LEGO Birthday

Turbo's 5th LEGO Birthday PartyI feel like my son’s 5th birthday snuck up on me.  I was so busy worrying about our costumes that I completely forgot his birthday is soon after Halloween.  Last year he was sick with the croup twice in a row so we canceled his birthday party.  It was two months later when he asked me if he was going to have a birthday party.  Ouch.  This year, I wanted to make sure he had a super birthday party.

Turbo said he wanted to have a LEGO Hero Factory party.  I wasn’t quite sure where to go with that so we sat down and searched Pinterest for ‘LEGO Hero Factory party’ ideas.  As you can imagine nothing came up.  I asked him if it would be okay if we narrowed our search to ‘LEGO Party’ and he agreed.  So many cool ideas for LEGO parties have been pinned.  Turbo sat with me and pointed out ideas he liked and wanted to have at his party.  The first thing he pointed out was a race car ramp.  We checked out cakes and cookies.  When I asked him if he wanted a cake or cupcakes he knew he wanted a cake.  I’m not much of an artisan with cakes.  I offered to make him a LEGO Brick cake and he thought that would be cool.  *whew*  We found a cool LEGO Bingo game that he said he’d like to play.

Pin the LEGO PieceI did come up with one of my own ideas, a Pin the LEGO Piece game.  My mom always made a pin the piece game for parties.  The one I remember the best was a Wonder Woman she made for my sister’s party.  She free handed all the pieces.  I’m much better with technology and I’ve been dying to find a reason to have a large engineering print made.

LEGO Batman thank you cardI set up a LEGO piece photo shoot.  I shot the image for his invitations and a close up of a standard LEGO man for the pin the piece game.  Then I took super close up shots of as many tiny LEGO accessories as I could find; hats, fish, cups, flasks, stars, hair, and a diamond to name a few.  I sent the LEGO man photo to Abadan, our local print store, to be printed as a 2×3 foot engineering print.  It looked so cool!  I printed out the accessory pieces at home, trying to make them the right size for our large engineering print out.  Little was a good helper.  She grabbed the print outs and brought them to me as I was printing them.  She loves retrieving paper from the printer.  Turbo was super excited about his party and carried around the printed LEGO pieces until I put them up so they would be ready for the party.  I found a LEGO font to use for the invitations and thank you cards.  I had the images to be printed as photos.  I stuck the invitations in envelopes as they were.  Turbo helped me glue the thank you photos to cards so he could write in them.

Playing LEGO BingoTurbo was keen on the LEGO Minifigure Bingo game.  As I scrolled through the call cards and boards I thought about replacing some of the Minifigure images with ones my son would know and his favorites like Batman.  I have Adobe Acrobat, so switching out a few images and text wouldn’t be a big deal.  Well, after I had added Turbo’s favorites, reorganized the board layout to be more like traditional Bingo, and added letters to the call cards it might have been less work for me to have started new!  I found most of the Minifigure images from the LEGO website and searched the web for some too.  Here’s my version of LEGO Minifigure Bingo (.pdf 3.2Mb) call cards and boards.  I printed the call cards full size and the boards 2 to a page on card stock.  Then I laminated the boards and we used dry erase markers with them.  It was a hit at the party and we ended up playing the game for several rounds two different times.

engineering print of LEGO man on wall with LEGO bumpsMy sister and I were chatting the day before the party and she asked if there was anything she could do.  “Yes! Do you have any colorful paper at your disposal?” I asked.  I really wanted to print out the LEGO Bumps from Deliacreates, but was running out of time to get things done before the party.  Thanks to my sister we had a great colorful wall of LEGO bumps.  Turbo enjoyed helping us hang the brick bumps on the wall.  We used the bumps to wrap the juice boxes like bricks too.

racing LEGO cars down a press board rampWhen the kids arrived they could build a crown with the LEGO bump paper, race LEGO cars down a ramp, and free play with the LEGO bricks we set out.  I sorted out wheels and axle type pieces from the majority of the bricks so they could build their own vehicle creations easily.  There were a few pre-built LEGO cars ready for racing.  We used a piece of press board for the race ramp.  It wasn’t nearly as big as the table ramp we saw on Pinterest, but if fit our space and Turbo was pleased with it.

There are so many cool ideas for putting together the gift bags.  I’d nearly run out of time for putting the party together, so for the gift bags we splurged.  I bought the bagged LEGO sets I found by Target’s checkouts.  This was our biggest expense.  If only I had bought a bunch of those box sets I found on clearance for $2.50 a while back; oh well right?  I printed out activity pages from the LEGO website, two on a page, and made a little activity booklet to include with the building sets.  You have to search within each LEGO product line website to find their printable stuff;  LEGO City had the most.

framed engineering print of LEGO manOne of the hardest parts of planning the party was deciding on a guest list.  I’ve always had this idea in my head that you should only invite as many guests as you are old.  Turbo was turning 5 and he has more than 5 friends.  It was hard not to invite all his friends.  Even after we sent the invitations I kept worrying that we should invite more people.  I think it was okay that we didn’t invite a ton of kids.  The party size was good and it was enjoyable, not overwhelming.

I framed the engineering print and hung it in my son’s room.  It’s a nice reminder of all the fun he had at “the best birthday party ever!”

Rainbow Brite and Twink

Rainbow Brite, Twink, and Batman, photo by Scott Butner aka Picture Fairy

Photo by: Scott Butner

One year ago I pinned an image of the cutest Halloween costume ever; Rainbow Brite and Twink.  Little was almost 6 months old and I knew, even though I hadn’t dressed up for Halloween since 2000, in 2012 I was going to be Rainbow Brite and Little was going to be my sprite, Twink.

I guess I should have known, but something that wasn’t mentioned in the original Twink Tutorial by pinksuedeshoe was how much the fuzzy fabric sheds.  When the lady at JoAnn’s was cutting the fuzzy fabric for Twink it was a mess.  She grabbed her cleaning cloth and said something like “if you vacuum the edges as you cut that should help with the mess.”  I vacuumed the edges as I cut, and got quite a bit of fuzz.

I thought I had the shedding under control, but after sewing the pieces together, which needed to be pinned like crazy, I still looked like someone had given a polyester Persian cat a haircut on my lap.  Before I sewed the fuzzy fabric to the fleece lining, I madly shook the pieces outside.  Then I washed and washed and rinsed and rinsed them in an attempt to get rid of the shedding fibers but they were still shedding everywhere.  Tiny shiny threads glistened all over me and my floor.  I’ve got about 3/4 of a yard left that I’ve quarantined in a plastic bag in the garage.  I’m contemplating throwing it in the trash.  Which says a lot.  I usually keep every tiny last scrap of fabric that I can.

I got the lining sewn to the fuzzy fabric.  I was so tired of the mess I decided I wouldn’t stuff the costume with fiber fill.  It looked poofy enough.  I skipped ahead to the elastic around the bottom section.  I broke two needles.  Oh my gosh!  The pattern directed me to turn and stitch.  In addition to going over the seams,  It was too much fabric for my machine to handle!  I ended up not worrying about turning the edge under.  The fuzzy stuff was a knit, so it wouldn’t unravel, and the fleece lining would be fine too.  I didn’t stitch over the seams either. Finally I got it done.  I felt like a champion who had made it across the finish line.

Instead of using the hook and loop closure the pattern called for I used my KAM pliers. Using my KAM pliers is easy and fun!  I am going to use them every time I get the chance.  Like for Twink’s belt, bam!  KAMsnapped it.

Little didn’t care for the hood, but she did end up wearing it a few times.  Mostly when she  was outside and it was cold.

Treating at UptownWith the kid’s costumes finished I could start mine.  I thought I was going to have to sew a blue dress and even went so far as to find a pattern in my stash that would work.  Then I remembered the bright blue bride’s maid dress hanging in my closet.  I hadn’t worn it since my best friend’s wedding in 2001. It was perfect to turn into a Rainbow Brite dress.  I started by sewing a satin blanket binding to the bottom of the skirt.  Then I measured up from the bottom of the skirt and sewed a long running stitch where I wanted the waist to be.  I gathered the skirt in and sewed it to a wide red ribbon.  I kind of messed this part up.  I had measured how wide the skirt should be, but since I was sewing the morning before the preschool party where my son expected Rainbow Brite and Twink to show up, I was in a hurry and satin is slippery.  As I was sewing the red ribbon to the bodice I had to make tucks to take into account my sloppiness.  I kept telling myself “it’s a Halloween costume.  If you wait until it’s perfect, you’ll never finish.”  Plus, I’d never gotten to a point where I could wear it that afternoon.

While I was hurrying to zig zag around the cut edge for the arm warmers I sewed through my finger.  Something I have never done before.  It went right through the callous part by the edge of my nail on my pointer finger.  Hopefully I have learned that I should not be sewing this close to a deadline!

I attached star patches to the blue shoes that I wore with the dress the dress the first time.  And sewed another to a blue ribbon for my pony tail.

I thought about adding more detail to the dress.  I had extra fabric in the form of a wrap. I thought about making it into sleeves and cuffs, but the dress ended up looking so cute the way it was I stopped.  I was afraid if I kept going I’d make it look too cluttered with all the details and it wouldn’t be so cute then.  Plus, I was out of time.

I had fun being Rainbow Brite.  I wonder if I can convince Little to be Twink again next year…

Save

Batman

Turbo as the Dark KnightHalloween is nearly here!  I’ve managed to create a costume which transforms my son into Batman, the Dark Knight.  We used a freezer paper stencil to paint the Dark Knight emblem on a black long sleeve t-shirt.  For the color I mixed black with a little silver paint so the design would show.  My son painted his shirt and I helped smooth out the inconsistencies.  I made him felt gauntlets.  The black gloves he picked out from REI this summer are the perfect touch.  I used Simplicity pattern 5927 as a guide to sew the cape.  I wanted larger scallops at the bottom of his cape so I used a large dinner plate to draw them out with a white crayon.  I used 4 yards of costume weight satin and sewed the shiny sides to the inside.  There was no way I was going to hem that much satin. I had to improvise on the cape collar.  Turbo let me know velcro was not his desired closure method so I got to use my new KAMsnaps pliers and snaps.  For the utility belt, I used a large 2″ buckle from JoAnn’s with 2″ black nylon webbing.  We used Blackberry cases to hold his gear.  I know Batman’s utility belt is a sort of gold color.  I tried to come up with something sort of gold and debated about spray painting it, but I think in the end it works just fine being black.  To finish the look we bought a Batman mask that came with a batarang.  The mask set a little too deep on my son.  I glued old bike helmet pads in the mask  to keep the plastic around the eye sockets from leaving marks.  Turbo loves his costume.  As soon as it’s on him his demeanor changes, and he becomes the Dark Knight.

Dark Knight on the move

Why I started cloth diapering

I can’t remember when I started thinking I would like to try cloth diapers.  I have a marvelous way of over thinking and never doing.  My friend added me to a cloth diaper group on Facebook in April.  In early June I was visiting my sister and we were hanging out one night.  I was doing a fantastic job talking about cloth diapers.  We covered prefolds, fitteds, all in ones, and why I thought pockets would work best for my baby who doesn’t lay still for diaper changes.  (I still hadn’t tried cloth yet.)  I started musing and crunching numbers while we were talking.  We go through 10 diapers a day.  My daughter is a pee machine, she likes to poop as soon as I change her, and I have an OCD like tendency to change her diapers as soon as they are wet.  Everyday I was taking a plastic grocery sack full of diapers out to the garbage can.  It is $0.25 for each size 5 Kirkland diaper.  That is $2.50 a day, $75 a month, $912.5 a year that we spend on diapers.

My first cloth diaper purchase, 2 Just Simply Baby Pocket diapers!Later that week, Buckwheat Bottoms, a local mom run cloth diaper store, ran a special on Just Simply Baby pocket diapers.  I bought two.  If I used one cloth diaper a day it would be paid for in 40 days.  And I figured if I only used one a day then I could avoid washing poopy diapers.  Even though I flush the solid poop from paper diapers, I don’t put any effort to scraping the smooshed stuff out.  I was confident I could do my experiment and pay for my two diapers.  I challenged myself to put Lil’ in at least one cloth diaper a day for a month.

Then something unexpected happened.  Well, not totally unexpected, but it caught me off guard.  After I changed my daughter into her first clean cloth diaper, she pooped; right away.  Remember what I said?  Yes, she prefers to poop in a clean diaper.  Figures!  As I cleaned that poopy diaper in the toilette, sometimes thinking ‘I am going to be sick’ and other times thinking ‘this isn’t so bad,’ it occurred to me that ‘I can do this.’

I went back to Buckwheat Bottoms and bought two more pocket diapers.  I was nervous about my long term commitment, but excited and confident that I would continue my month long challenge of using at least one cloth diaper a day.  I found something to wash everyday so I could clean my diapers and have them ready for the next day of use.

I started this crazy endeavor on June 18.  I passed my monthly challenge with flying colors.  I celebrated by purchasing 6 gently used Rumparooz and two Kissa Pocket Trainers.  I even splurged on a Flip Trainer.  A friend brought over some of her stash for me to use until her little grows into it which has given me a chance to try different pockets, covers, and fitteds.  At the beginning of this month, JSB ran an overstock special and I picked up 3 more diapers with inserts for a super deal.  August 5th Lil’ spent the whole day in cloth.  I used one paper diaper as her second night time diaper.  I’ve continued using cloth all day with one paper diaper at night.  Last night I put her in cloth as her second night time diaper.  It’s been over 24 hours since I put her in a paper diaper.  I wonder how long I can keep her going in cloth.

I have spent $200 on cloth diapers.  If I can go two and a half months without using paper, I’ll have paid for my current cloth diaper purchases.  My daughter will be in diapers for at least that much longer.  (I should have kept better track of how often I have used the diapers since I started.)  When Lil’ is potty trained, I can sell my diapers or donate them to a mom who cannot afford to buy diapers.

Why did I start cloth diapering?  It’s something I wanted to try.  They are super cute.  I feel good not throwing away a bag of diapers everyday.  I’m going to save money.  But most of all, I can do this!

Fabric Bunting!

I was wondering if I would have the energy to make fabric bunting for my Little’s first birthday.  I started cruising through Etsy to see if I could find some that I wanted to buy.  I found several floral, vintage themed ones I wanted to buy.  The more I looked, the more I wanted, the more I knew I had to make some.  For the price of two I could make 5 longer banners with larger flags.  I was blessed with a friend who brought her bunting by.  I immediately hung them in my living room for inspiration.  They made me smile every time I looked at them.  Thank you friend!

I remembered reading on Joy’s Hope about her vintage sheet supplier.  I fell in love with the beautiful vintage floral prints.  My Grandmother had several of the sheets listed.  Desire got the best of me and I ordered more than I needed to make 5 banners plus a flat floral sheet to use for a table cloth!

Vintage sheet fat quarters

After cutting several pieces of paper in different dimensions, mulling it over with my sister, and staring at the bunting hanging in my front window, I finally cut 80 triangles, 9″ tall with a base of 8″.  The stack was beautiful and impressive!

80 8" wide 9" tall triangles from vintage sheets

Sewing them right side together in pairs went quickly.  When it came time to turn them I began to doubt myself.  They were not looking right.  Should I have sewn them wrong sides together and been done with it like this tutorial?  I turned a couple and was frustrated trying to iron them flat.  I made sure I was clipping my acute corner correctly.  I thought about it for at least a day.  Then the answer hit me.  I needed something to shove inside my sewn triangles so I could iron them well.  I cut a cardboard triangle from a cereal box to use.  It worked like a dream.  I could press forward with my creation.

cardboard triangle

I stitched around the edge of my triangles to add a special finished touch.

finished flags, ready for banner

All the fabric bunting I saw used double fold biased tape, like this one.  I’ve always loved grosgrain so I bought some when it was 50% off at Hobby Lobby and used it.  I only had enough to finish 4 banners.  I might try the biased tape on my last one and see how that looks.

my finished bunting

My sister hung the bunting for the party.  I wish I had taken pictures of her climbing the tree and up on her husband’s shoulders!

The party

Happy Birthday Little Girl.  I can’t believe you are one.  We love you!

Lil in front of the bunting

Fabric Party Hats

Fabric Party HatsLil’s first birthday is quickly approaching.  She puts everything in her mouth.  I wanted her to have a party hat she could chew on and I wouldn’t have to fish pieces of it from her mouth. I found a few tutorials for sewing fabric party hats.  One used interfacing, and the other used a serger.  I have a lowly Minimatic that is as old as I am.  I used the pattern from Jane of all Trades, and made my own mash of directions.

  1. I made a cereal box template from the Jane of all Trades pattern so I could sew these for everyone at the party if I acquire more Wonder Under and get some crazy burst of energy.
  2. Using the template, cut Wonder Under & reclaimed blue jeans to the pattern size.
  3. After ironing the Wonder Under to the wrong side of your top fabric, cut it out.
  4. You should only have 2 pieces now.  Put the right sides together.
  5. Pin the elastic where it was marked on the pattern.
    Pin Elastic
  6. Stitch nearly 1/2″ around the curved edge.  Back stitch over the elastic to make sure it’s secure.
  7. Remove the paper from the Wonder Under.  Otherwise you will be cursing as you try and pull the little papers from along the seam you snipped.
  8. Snip along the curved edge.  Every 1/2″ will do.  I tend to get a little carried away and snip more frequently.
  9. Turn your wrong sides together.
  10. Press according to the Wonder Under directions.  Damp cloth, 10 seconds, iron to dry it a bit.  Try not to iron the elastic.
  11. Make a cute ribbon pom for the top.
    ribbon pom
  12. Fold the hat in half with the outside fabric facing in.
  13. Place the pom in the tip of the hat, pointing toward the curved edge, upside down, pin.
    pom placement
  14. Stitch up the straight side.  Make sure to sew the pom in well.
    stitching up the hat, secure pom
  15. Turn the hat right side out and admire your handy work.  Press the seam to one side.  Give yourself lots of praise for how cute it turned out.
  16. Find your little and try it on them.  Tie a knot in the elastic because even though you measured it, it’s still too long.
    Lil in fabric party hat

These could be embellished and made super cute for an older crowd; think fuzzy boa stuff!  I’m keeping it simple for the 1 year old.  I’m still keeping my eye out for some cute ribbon to add detail along the bottom of the hat, but it’s pretty darn cute even without it.